Editing your GDPS textures
Don’t know how to edit the textures of the game for your GDPS? This guide will teach you how to do that!
Requirements
Section titled “Requirements”To be able to follow the rest of this guide, you will need to make sure that:
- You have an image editor (like Photoshop, Pixlr, ibisPaint X, Krita, GIMP…)
- You have the base textures/spritesheets to work on
Finding the textures
Section titled “Finding the textures”Go into the Resources folder of your GDPS and find the textures you want to edit. You will see that most of them are inside a big file with a lot of other textures. This is called a spritesheet.
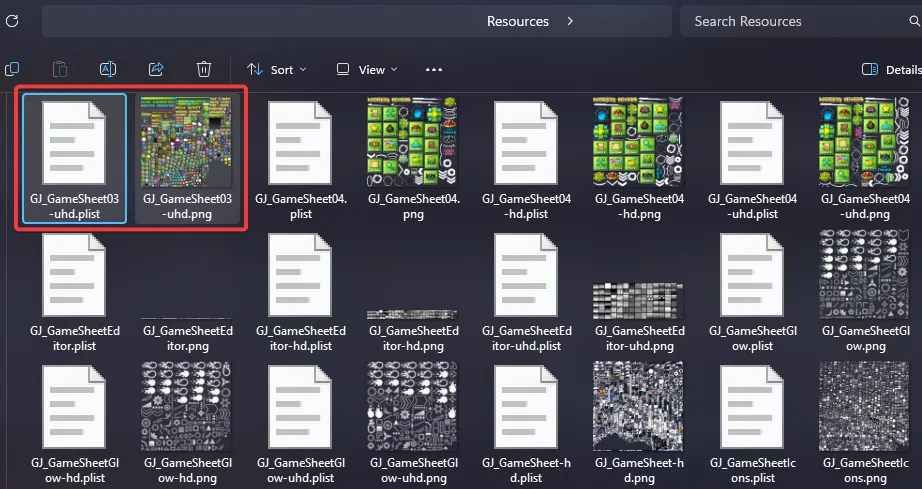 Each texture in Geometry Dash has three versions: one ending in
 -uhd for the High quality setting, one ending in -hd for the Medium quality setting (and the only one available on mobile), and one not ending with any of the above for the Low quality setting.
If the texture you want to edit is not in a spritesheet, you can edit it directly and skip the rest of this guide (the extra tip at the end may still be useful though!).
Extracting the textures
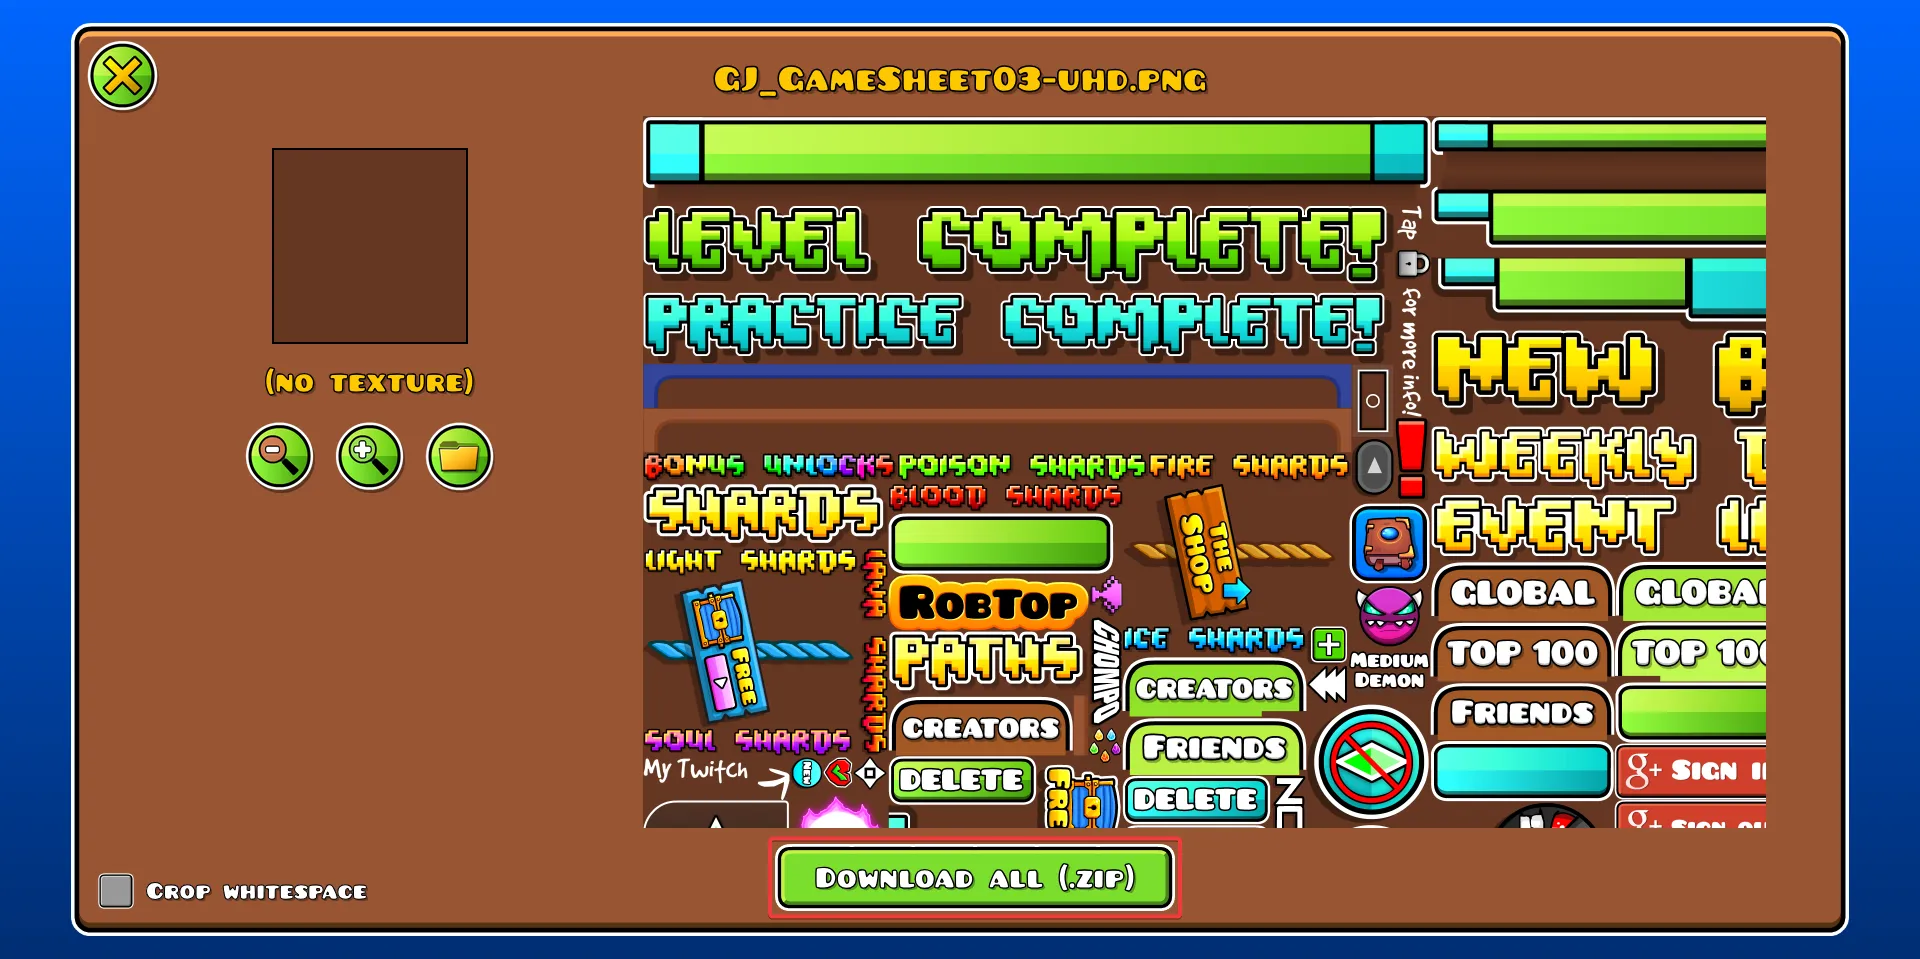
Section titled “Extracting the textures”To extract textures from a spritesheet, go to GDColon’s GDSplitter and simply drag and drop the PNG and PLIST files of the spritesheet you want to edit. Give it a few seconds to load, and once it’s imported, click “Download all (.zip)”.
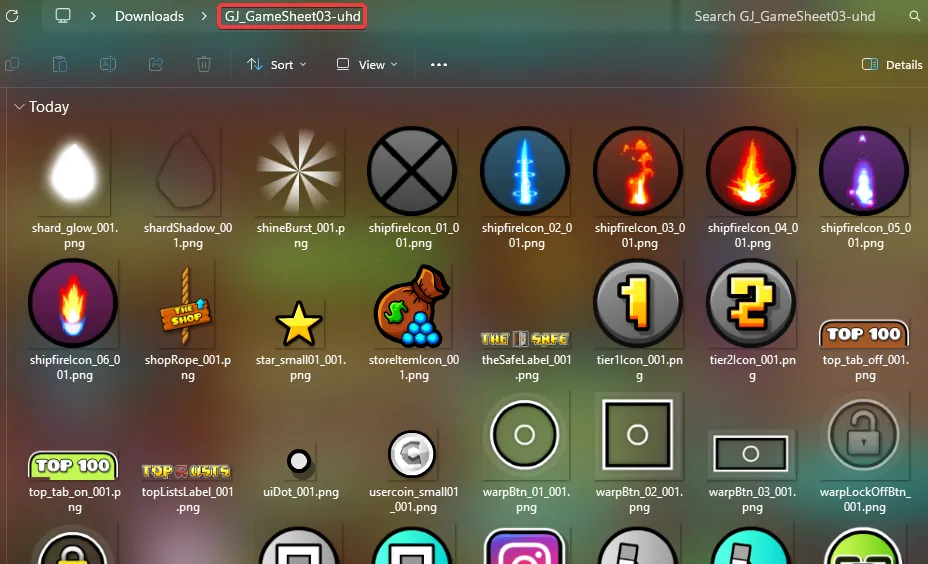
Unzip the archive you’ve just downloaded, and now you can freely modify the textures you want! However, make sure to keep the resolution and the names exactly the same.
Merging the textures
Section titled “Merging the textures”Once you’re finished editing the spritesheet you’ve just extracted, go back to GDColon’s GDSplitter and this time click on “Merge sprites”.
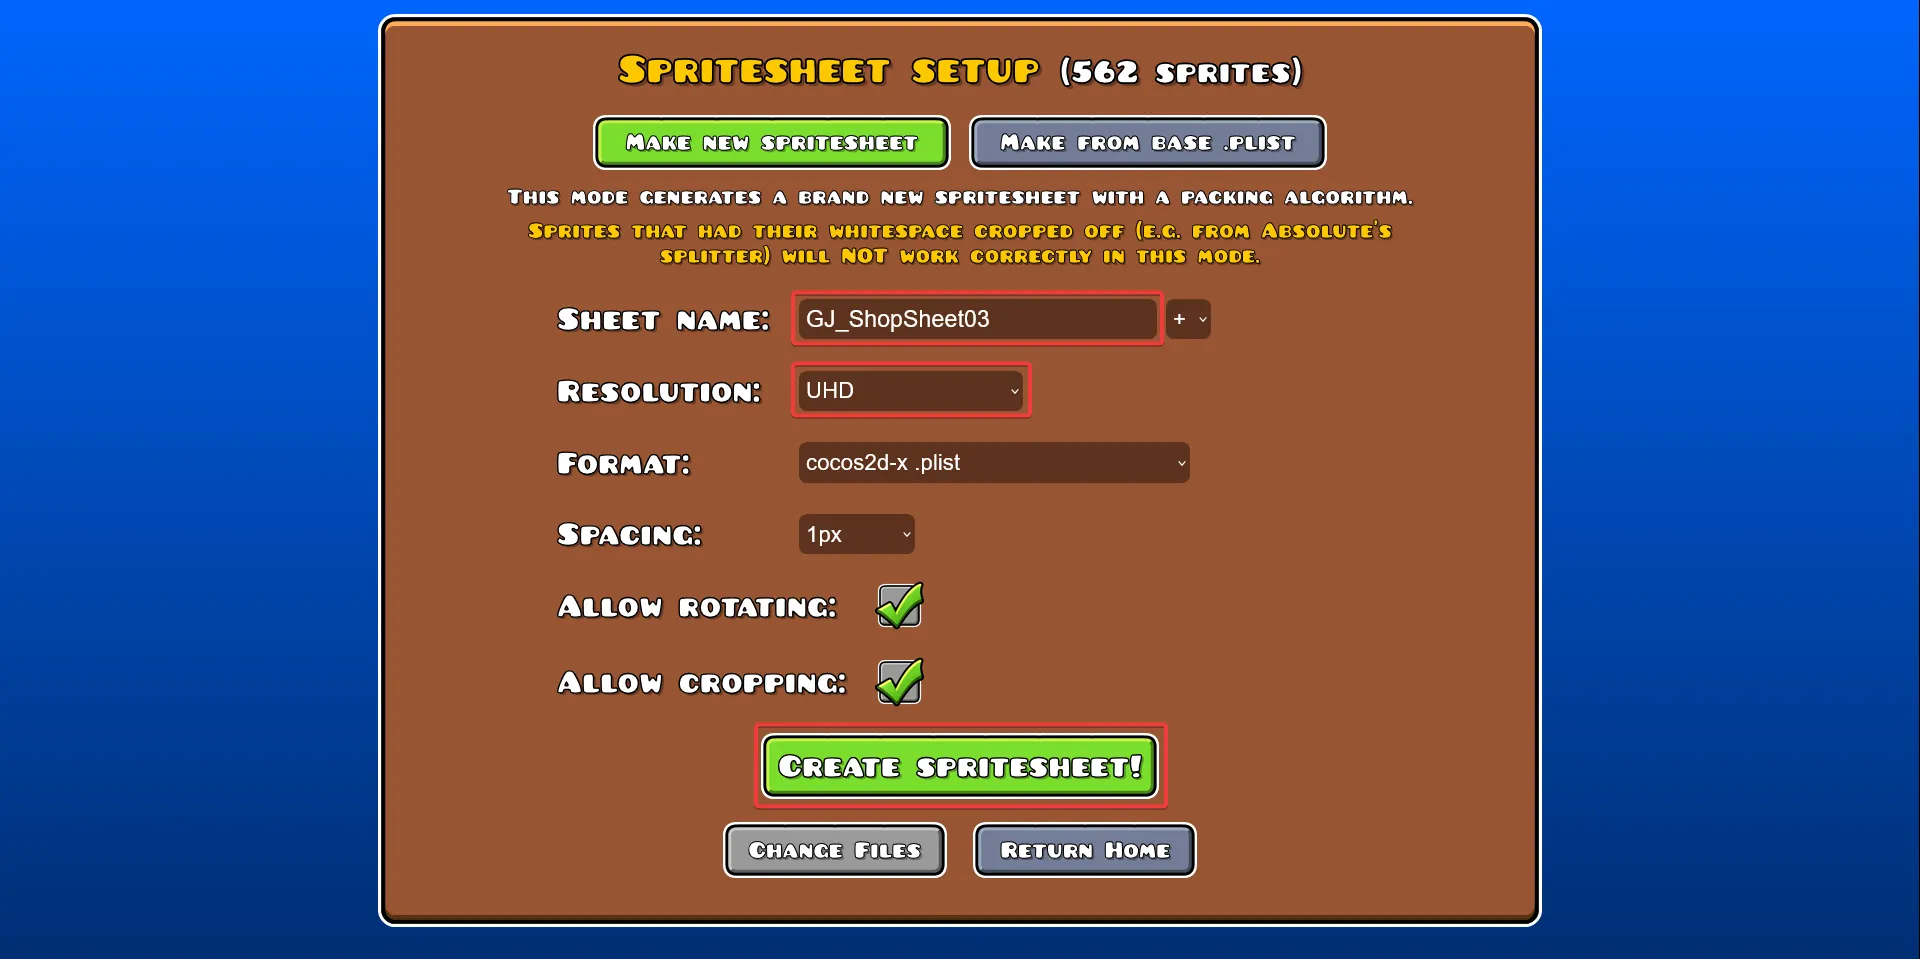
Import all the textures from the extracted folder, click “Continue”, make sure to enter the name of the original spritesheet without the extension and to select the right resolution for your textures, and create the spritesheet!
Extra tip
Section titled “Extra tip”Start with your High quality version first! That way, all you need to do is resize the texture to the correct resolution for the Medium and Low quality versions.
Last updated: July 27th, 2026